
Few household aggravations rank higher than dealing with ailing (leaking, thumping, malfunctioning) appliances. Sometimes the machine will be beyond hope―destined for the recycling pile. Other times an inexpensive repair is all that’s needed. The first question is, How do you diagnose the problem? The next is, How do you figure out whether it’s a job for a licensed technician or one you can handle yourself? Here, learn the most common symptoms of appliance trouble, what causes them, and whether you or a pro should fix the unit or if the time has come to ditch it. (R.I.P.)
Refrigerator
Problem: It’s not cooling or freezing well.
It could be: The condenser coils. Found behind the kick plate at the front or the back of the unit, they can easily become caked with dust.
Verdict: Fix it yourself. Unplug the refrigerator, loosen dirt with a soft-bristle brush, then vacuum.
It could be: The gaskets (the rubber strips that seal the doors shut). “Close the doors on a dollar bill at several spots,” says Chris Hall, a cofounder of the appliance-parts vendor RepairClinic.com. “If the bill slips, you need a new gasket.”
Verdict: Fix it yourself. To install a gasket ($40 to $60; see Where to Find Parts and Service, at the end of this article), take out the old one and screw the new one in, making sure the door is properly aligned.
It could be: Frost buildup in a self-defrosting freezer. A bad thermostat or compressor could be at fault. Either way, you’ll need to call a repairman.
Verdict: If it’s the thermostat, a pro can fix that. Parts and labor will cost $100 to $175, says repairman Eric Kleinert, who writes the appliance-repair blog erickleinert.blogspot.com. If the compressor is shot, you should ditch the machine (see How to Dispose of Appliances, at the end of this article). “A new compressor is $500 to $700,” says Kleinert. “It’s not worth the cost if the refrigerator was less than $1,000 or is more than five years old.”
Problem: It’s making strange noises.
It could be: Paper or some other debris caught in the condenser fan. Listen for a sound like a playing card rattling in the spokes of a wheel.
Verdict: Fix it yourself. Unplug the unit, then unscrew the back panel to get to the fan, on the bottom right. Remove any foreign objects.
It could be: The freezer fan motor, which squeals.
Verdict: Have a pro fix it for $150 to $250.
It could be: The compressor. When that part stops working, it makes a thumping sound.
Verdict: Ditch the refrigerator. (Sorry.)
Problem: The ice maker has stopped working.
It could be: The bale lever (which looks like a hanger). It may be flipped to the off position.
Verdict: Fix it yourself. Just switch the lever on; it should be pointing down.
It could be: A clog in the water valve. Here’s how to test it: Place a finger in the mold above the ice bucket. No cubes means there’s a potential clog.
Verdict: Have a pro fix it for $185 to $275.
Stove, Cooktop
Problem: The gas burners spark, but there’s no flame.
It could be: Clogs in the holes of the gas burners.
Verdict: Fix the problem yourself. Clean out the holes with a safety pin or a needle, says Kleinert, but don’t use a toothpick; the tip can break off and become a fire hazard. Also make sure that the burners aren’t blocking the openings where the gas comes out; this can happen if the grates get bumped accidentally.
It could be: Food spills or oil coating the spark plugs (the small, rod-shaped igniters on each burner that create the spark to light the flame).
Verdict: Fix it yourself. Scrub the plugs with a toothbrush and a mixture of soap and warm water, suggests Lance Kimball, owner of Appliance Repair Specialists, a service company in Tampa.
Problem: The oven won’t heat properly.
If you have a gas oven, it could be: The glow-bar igniter. In most cases, says Hall, you can see a red glow from the igniter (a harmonica-shaped piece, usually found beneath the floor of the oven) by peering through the vent holes in the bottom panel. “If it’s glowing for more than three minutes but your gas doesn’t turn on, you probably need a new igniter,” he says.
Verdict: Have a pro fix it. “An experienced technician should replace an igniter, since you’re dealing with gas,” says Kleinert. “He or she will check the entire system to make sure there are no leaks.” Parts and labor run $150 to $300.
If you have an electric oven, it could be: The bake element. A thick, heat-radiating wire on the oven floor, it should turn a deep red when the oven is on. “You’ll see a dark burn spot on the element if it’s no longer working properly,” says Roman Kagan, chief executive officer of AppliancePartsPros.com.
Verdict: Fix it yourself. A bake element costs $20 to $40 and is easy to replace. Unplug the stove (or switch off the circuit breaker if you can’t reach the plug), unscrew the screws that hold the element in place, pull it out, and pop in the new one.
It could be: A broken thermostat or selector switch. If the bake element works, those parts (both found in the control panel) are the likely culprits.
Verdict: Have a pro fix it. Replacing a thermostat should cost $220 to $300; a selector switch will run $190 to $250.
Problem: The glass cooktop is broken.
It could be: A casualty of a cast-iron pan, a meat cleaver, or a heavy bottle of vinegar or oil.
Verdict: Fix it yourself. “Glass cooktops cost $150 to $250, and some go up to $400,” says Kagan, but replacing one is easy. First, unplug the stove. On a range, two screws at the front generally hold the top in place. Unscrew them, lift the top up, and pull it out of the hinge. Install the new top. If you have a cooktop, “open the cabinet under it,” Kagan says. “Look up and you’ll see the brackets that hold the cooktop in place. Remove them with a screwdriver before lifting the old glass and swapping it with the new. Then resecure the brackets.”
Dishwasher
Problem: Your plates don’t get clean.
It could be: Overloading―the most common cause of this problem, according to Doug Rogers, president of Mr. Appliance Corp., a national appliance-repair chain.
Verdict: Run a load or two with only two-thirds of the dishes you normally stuff into the machine and see how it goes.
It could be: An obstruction. Something may have lodged under the float (the disk in the dishwasher floor that controls the water level). Or food may be caught in the small holes of the spray arms.
Verdict: Fix it yourself. Take out the racks and remove any debris caught under the float. Use a toothpick to clean holes in the spray arms that appear to be clogged, says Rogers.
It could be: A cracked or broken spray arm.
Verdict: Fix it yourself. If an arm is damaged, order a new one ($20 to $50) and install it. “Most arms are held in place with two screws,” says Kleinert.
It could be: A slow water-fill problem. “Calcium or iron deposits in your water can clog the screen in the water-fill valve,” says Kleinert.
Verdict: Have a pro fix it, since the valve usually needs to be replaced (cost: generally less than $200). The machine will need to be disassembled.
Problem: There’s a puddle of water on the floor.
It could be: Too much soap. (The recommended amounts and types of detergents vary with each machine; check your owner’s manual.)
Verdict: Fix it yourself. “Pour half a cup of white vinegar into the bottom of the dishwasher to eliminate any remaining suds,” says Rogers. “Then run the dishwasher empty and it shouldn’t leak.” Going forward, use less detergent.
It could be: A broken door latch or (less commonly) a worn gasket. And possibly this worst-case scenario: a seal leak in the motor-pump assembly, the heart of the machine. Ultimately you’ll need a technician to make the call.
Verdict: If the latch or the gasket is shot, have a pro fix it. Either repair should cost $80 to $150. If the problem is the motor pump, ditch the machine. “Parts and labor for a new motor pump can cost up to $600,” says Kleinert. “You can get a brand-new dishwasher for less than that.”
Problem: The water won’t drain.
It could be: The garbage disposal, surprisingly enough. A plug may not have been removed before the disposal was attached to the drain hose.
Verdict: Fix it yourself. Look under the sink for a small hose coming out of the dishwasher that’s attached to a nozzle of the disposal, says Kagan: “Remove the hose, then insert a screwdriver into the nozzle to pop out the plug.” Reattach the hose.
It could be: Food or bits of labels from jars clogging the drain-pump motor, says Kimball.
Verdict: Have a pro fix it. Since the motor is under the unit, a repairman will have to unclog it. However, if the motor needs to be replaced, the machine may have to be retired.
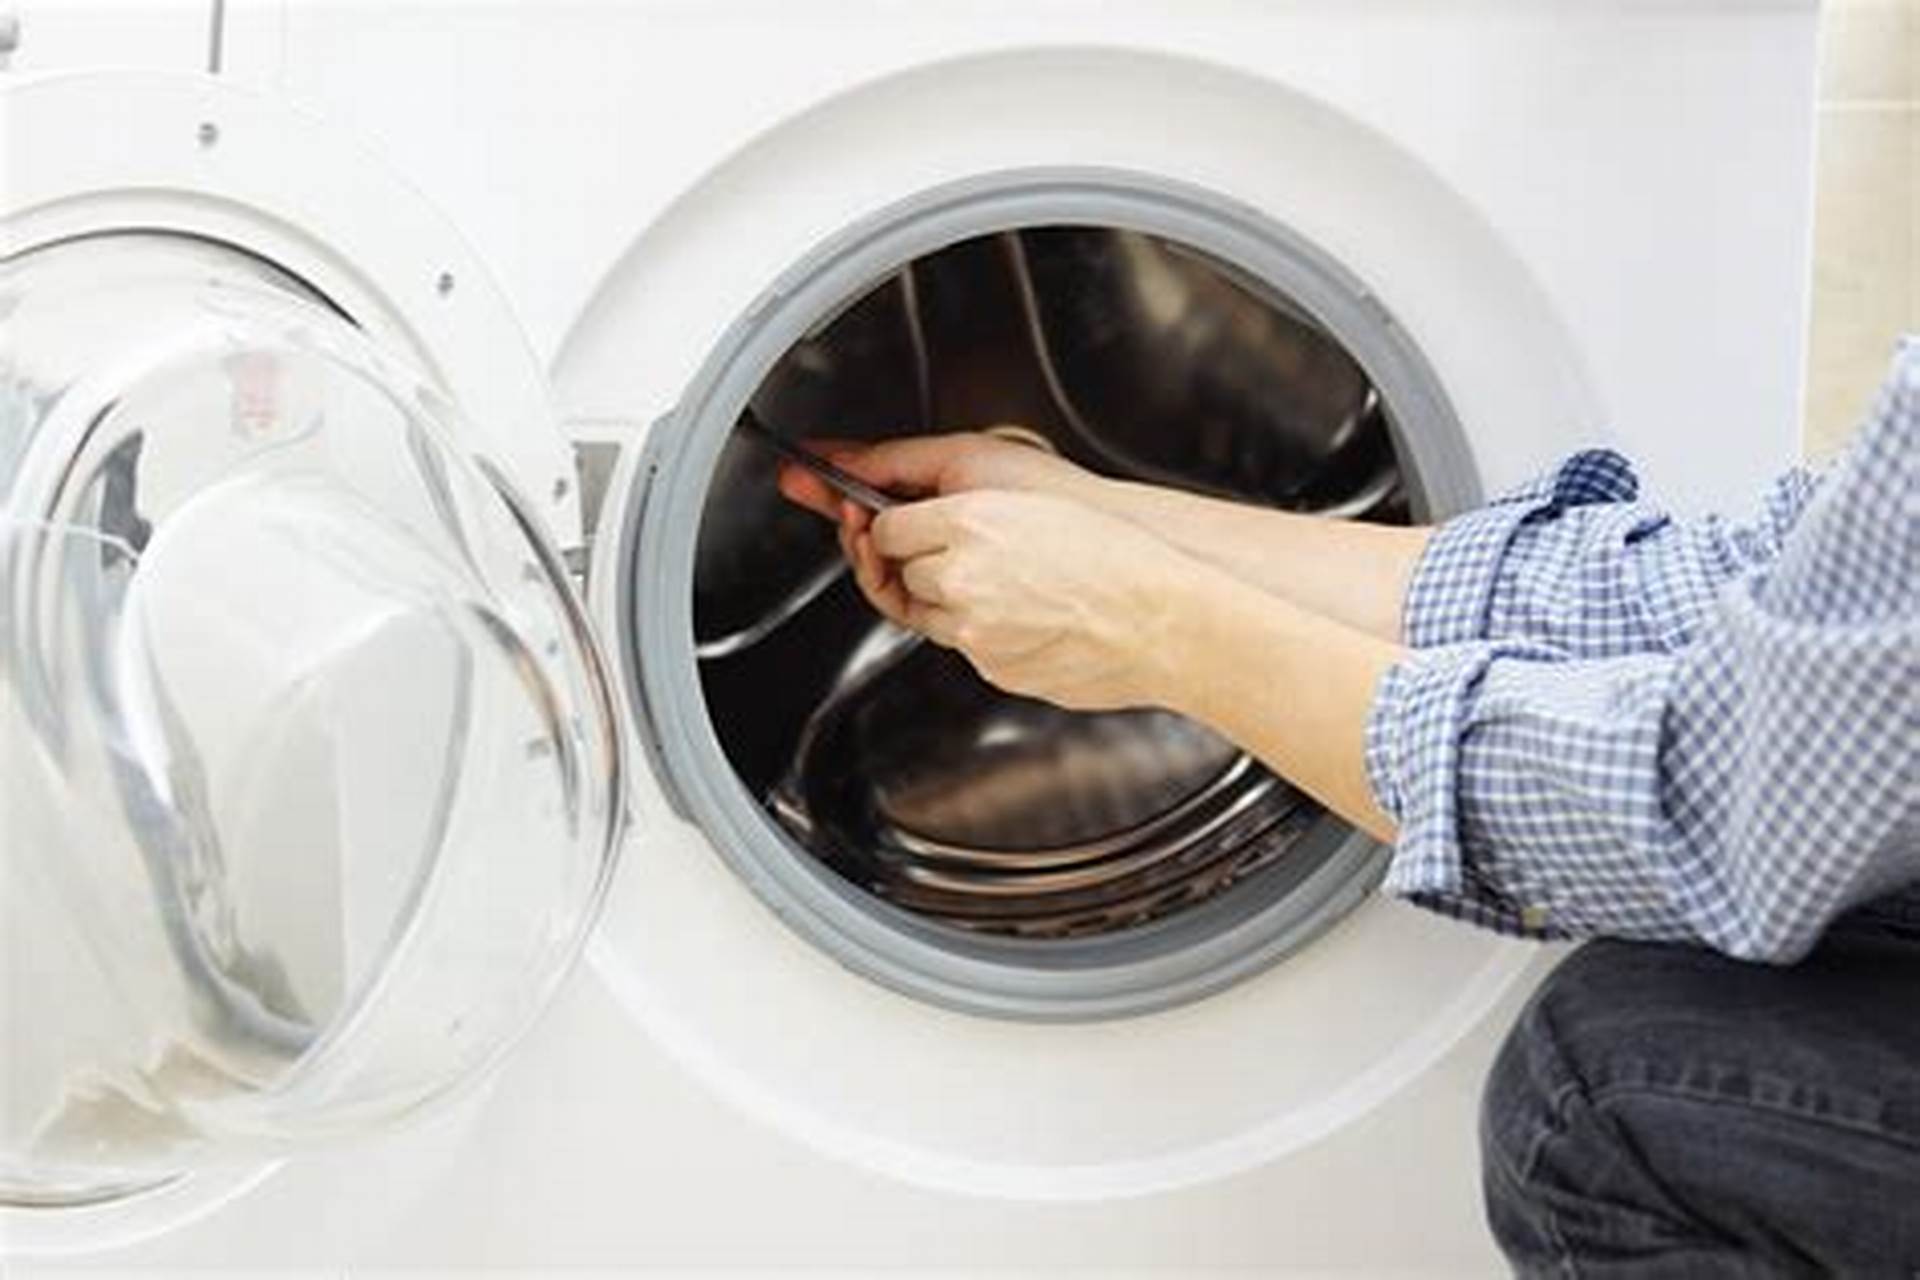
Washer
Problem: It won’t spin.
It could be: A broken lid switch. Located in a hole at the lip of a top-loading machine, this mechanism keeps a top loader’s drum from spinning when the lid is open. “Close the lid and put the machine on spin,” says Hall. “If the machine makes no noise at all, it could be the lid switch.”
Verdict: Have a pro fix it ($160 to $200).
It could be: A belt drive or a motor coupler, depending on your machine. Or a broken transmission or drive motor. Don’t bother to look up these terms; you’ll need a technician to figure out this one.
Verdict: Have a pro fix it, if the problem is a broken belt or direct drive ($160 to $200). But if it’s the transmission (up to $500) or the drive motor (up to $400), Kleinert suggests scrapping the machine and opting for a new model.
Problem: It vibrates during the spin cycle.
It could be: The washer is off balance. “Maybe it’s not level or is on a floor that’s not strong enough to support it,” says Hall. Place a glass of water on the floor next to the machine during the spin cycle, he suggests: “You should have minimal agitation.”
Verdict: Fix it yourself if you’re handy. “Place a 3⁄4-inch-thick piece of plywood under both the washer and the dryer and screw it down, not to the floor but to the joists,” says Hall. (A four-by-eight-foot piece of plywood costs $16 to $18 at Home Depot.) Use shims if necessary to create a level base. If you’re not handy, a pro can fix it for about $50.
Dryer
Problem: Clothes take too long to dry.
It could be: A buildup of lint. The leading cause of dryer failure, an excess of lint clogs the machine and makes it work too hard, says Rogers. (Lint in the dryer vent is also a fire hazard.)
Verdict: Fix it yourself. Check the lint screen, the screen slot, and the vent hose at the back for blockages. Pop the hose out and vacuum it thoroughly.
It could be: The dryer vent on the outside of the house could be blocked.
Verdict: Clear out any leaves, birds’ nests, and other debris. Then check every month or so to ensure that other detritus hasn’t taken its place.