
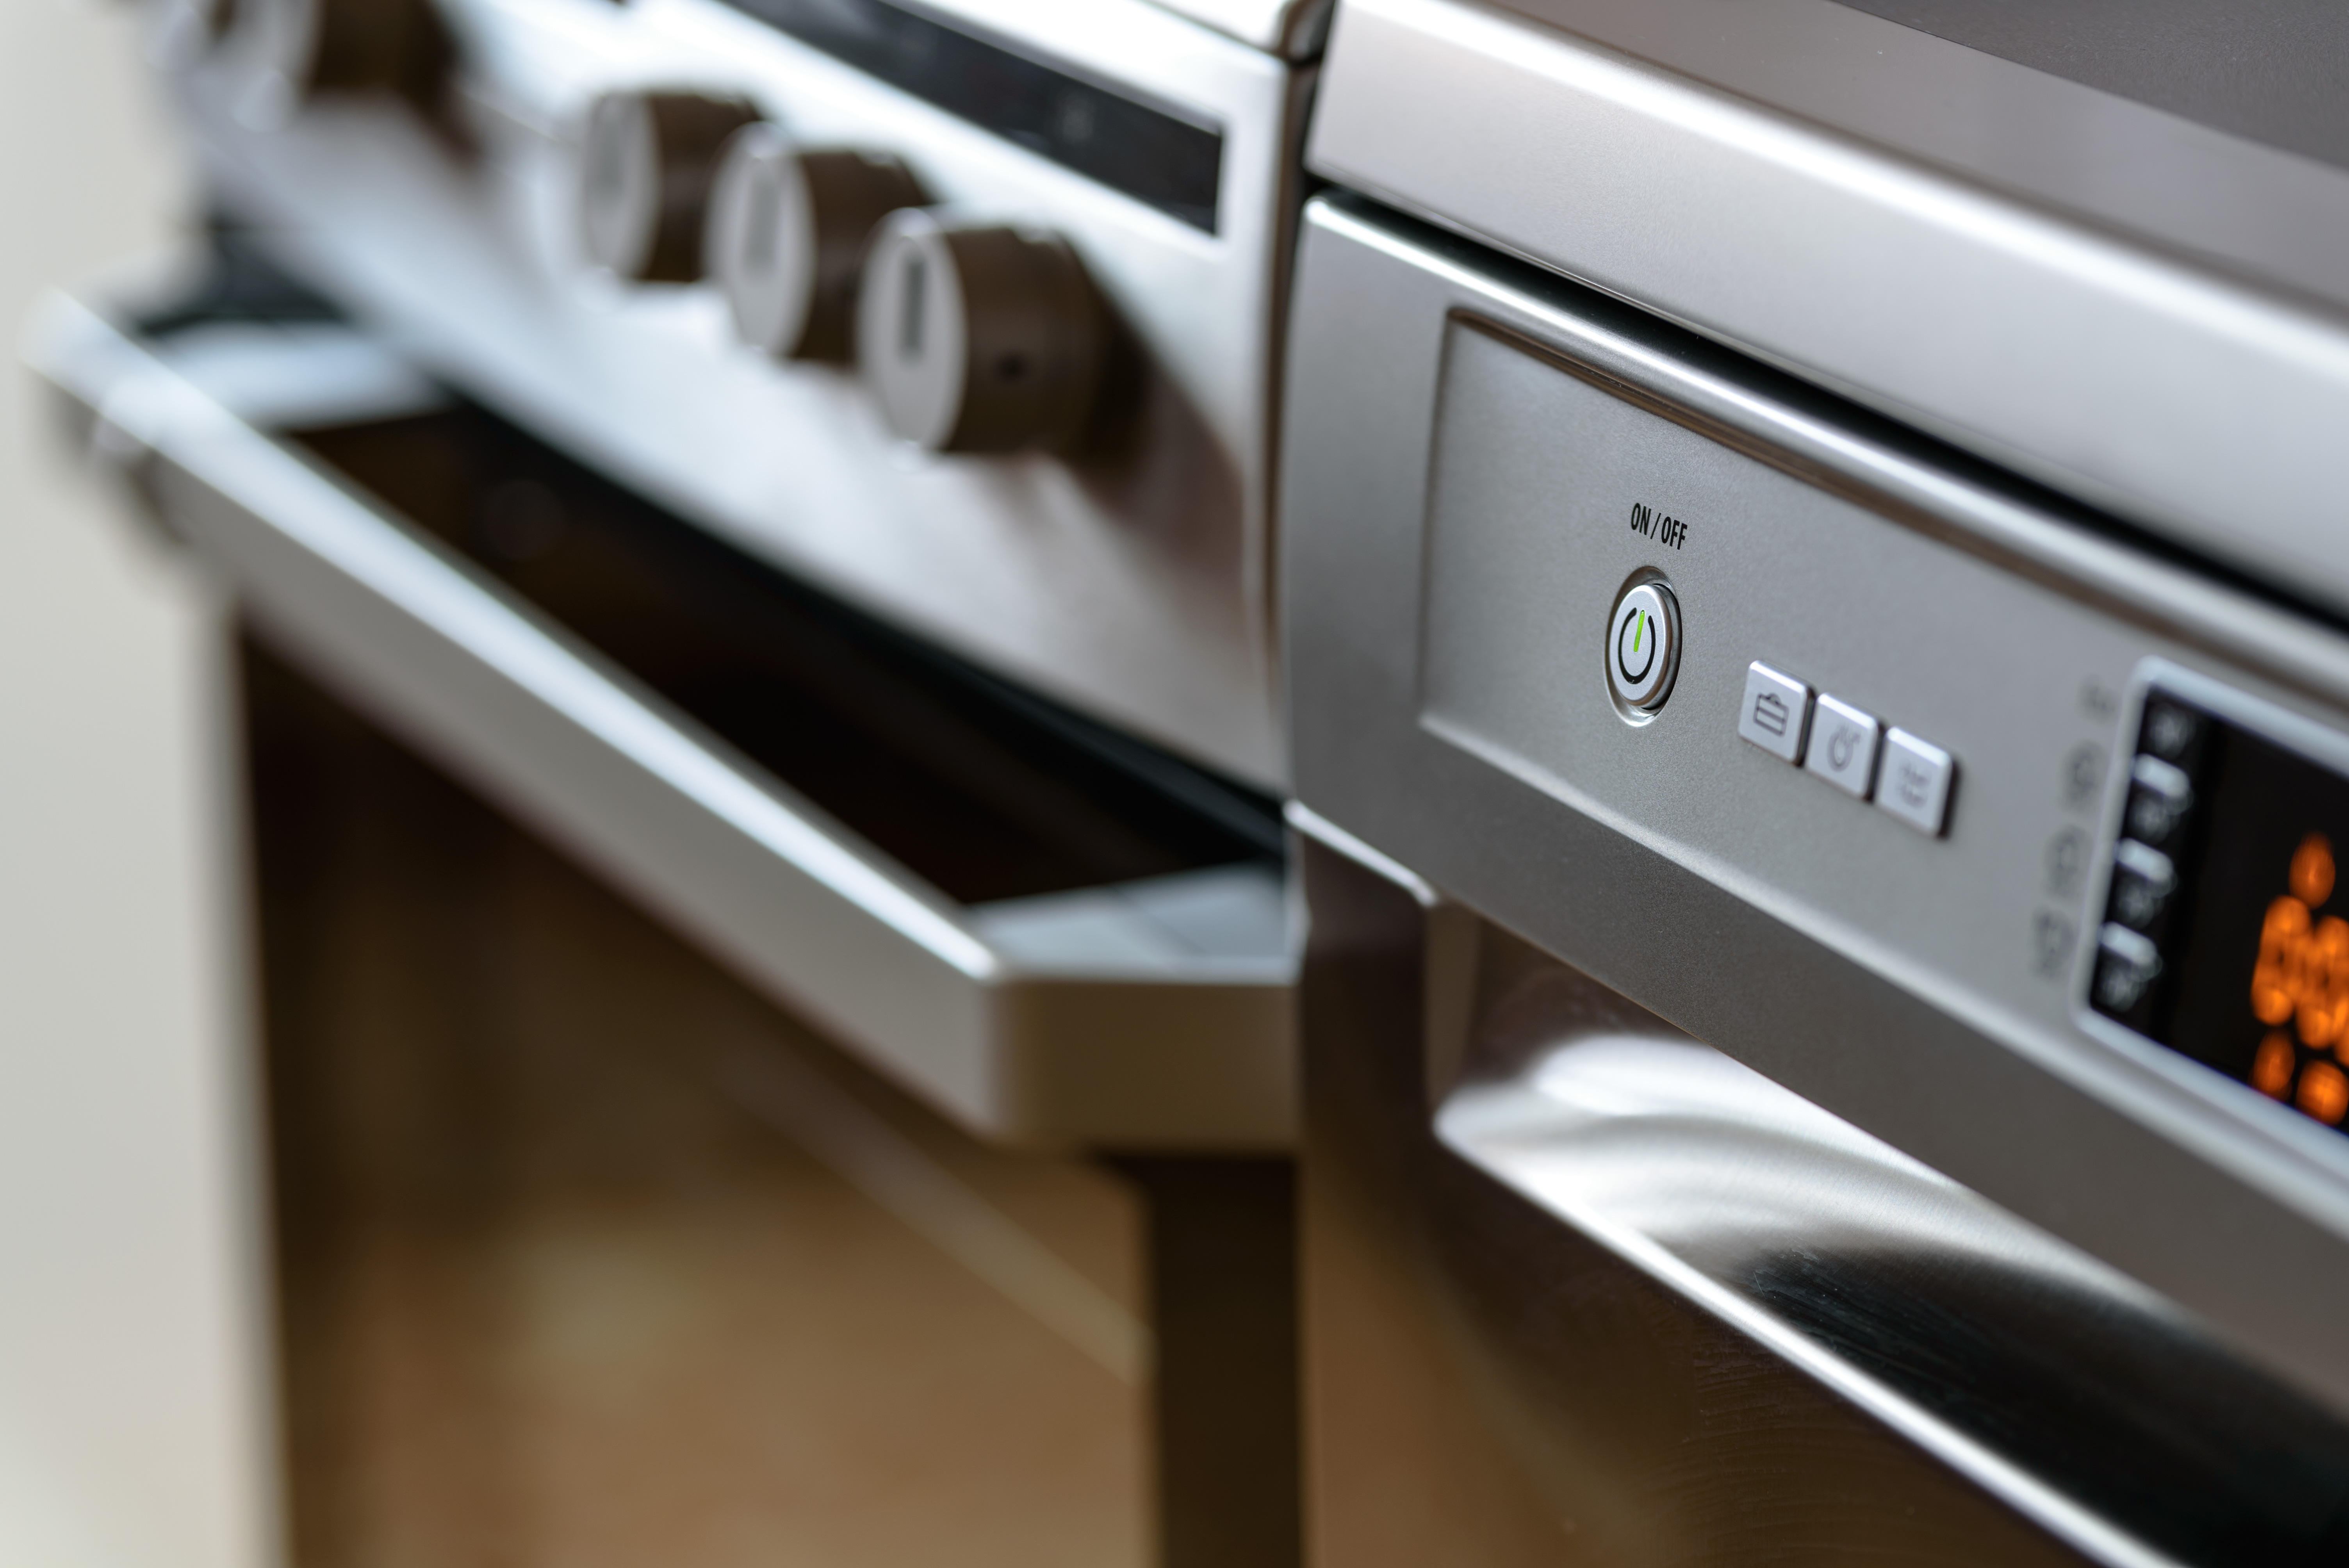
Gas and electric ranges and ovens operate fairly simply, and they’re usually easy to repair, mainly because the components are designed for quick disassembly.
Most of the malfunctions that affect gas ranges involve the supply and ignition of gas in the burners and the oven. Most malfunctions that affect electric ranges and ovens involve faulty heating elements. In this article, we’ll discuss how the main parts should work on gas and electric ranges and ovens and how to service them regularly to avoid larger, more expensive problems. The first step is taking a peek inside to assess the problem.Caution: Before doing any work on a gas range or oven, make sure it’s unplugged, or turn off the electric power to the unit by removing a fuse or tripping a circuit breaker at the main entrance panel or at a separate panel. If there is a grounding wire to the range, disconnect it. Also close the gas supply valve to shut off the unit’s gas supply.
Disassembling a Gas Range
A gas range cabinet comes apart very easily. Here’s how:
Step 1: Take out the screws that hold the panels, and pull off the control knobs. On the control panel the knobs are friction-fit; pull them straight off. Some knobs may have setscrews in the base of the knobs; back out these screws using a screwdriver or Allen wrench and pull off the knobs.
Step 2: Remove the back service panel on the control panel by backing out a series of screws around the edge of the panel. To remove the front panel, take off the control knobs and remove a series of mounting screws that hold the decorative panel to the frame. These screws may be hidden by molding or trim; pry off the molding or trim with a screwdriver, or take out several screws.
Step 3: To gain access to the burner assemblies, remove the burner grates and then the top of the range. The entire range top should either lift up and off the range or open up and back on hinges. The oven door can usually be removed by pulling it straight up off the hinges on both sides of the door. Some hinges have a latch that must be unlocked before the door can be removed.
Step 4: If the surface light of the range burns out, remove retaining screws and panels as necessary to gain access to the bulb. Replace the burned-out bulb with a new one of the same type and wattage; check the ends of the old bulb for this information. Then replace any retaining panels.
Step 5: If the oven light burns out, unscrew it and remove it from the oven. Replace the burned-out bulb with a new one of the same wattage, made for oven use.
Replacing a Door Gasket
If the oven won’t heat to the desired temperature or heats unevenly, the problem could be a defective door gasket. The best way to test for this is to pass your hand around the door, being careful not to touch it, while the oven is turned on. If you can feel heat escaping, the gasket needs replacement. Replace it with a new gasket made for the range.
On most ovens, the gasket is located on the frame of the oven, and the door closes against it. This gasket is generally friction-fit in a channel and can be replaced. In other units, the oven door has two sections, and the gasket is not mounted on the door frame, but is installed between the front and back sections of the door. Don’t try to replace this type of gasket; call a professional service person. Here’s how to replace a frame-mounted gasket:
Step 1: Pull the old gasket out of the channel. On some oven door frames the gasket is held in place with screws. To get at the screws, bend back the exposed edge of the gasket.
Step 2: Clean the channel and the door frame with a solution of mild household detergent and water.
Step 3: To install the new gasket, start the replacement at the top of the door frame and work down the sides, easing the gasket around corners. Finish the installation along the bottom, butting the ends of the gasket firmly together.
GAS OVEN SAFETY TIP
If you smell gas, leave the house immediately. Do not try to turn off the gas from inside the house, or turn any lights on or off. Find and turn off the master gas valve outside the house. Go to a telephone and call the gas company or the fire department immediately to report a leak. Do not re-enter your home.
Cleaning the Burners
Clogged burners are a very common problem with gas ranges because foods spilled on the burners block the gas ports and prevent ignition. On some gas ranges you can remove the top ring of the burner to expose the ports. Here’s how to clean a burner:
Step 1: Turn off the power supply, both gas and electric, to the range. Then remove the burner.
Step 2: Soak the burner in a solution of mild household detergent and water. Clean it with a soft cloth.
Caution: Do not use a toothpick or matchstick to clean the gas ports. If the tip of the wood gets stuck in the burner ports, it could cause a serious blockage.
Step 4: When the burner is completely dry, replace it, and turn on the power and the gas supply.
An oven that won’t heat can occur for a variety of reasons. Check out the next section for tips on where to look to solve this type of problem.
Repairing the Oven Setting Control
An oven that won’t heat or heats unevenly most likely involves a faulty control, thermostat, or timer. Don’t worry because most of these problems can be handled yourself at minimal cost.
Repairing the Oven Setting Control
When the oven setting control malfunctions, the oven won’t heat. Here’s how to repair an oven setting control:
Step 1: Remove the control knob.
Step 2: Remove the back service panel or the front panel, if necessary. Remove other control knobs as needed to remove the panel. The oven setting control is located directly in back of the control knob and is usually held to the control panel by two screws.
Step 3: Testing the control with a volt-ohm-milliammeter (VOM) is not recommended, because the results will not always be conclusive. If you suspect that the setting control is faulty, the best procedure is to substitute a control that you know is working, or you could simply replace the faulty control with a new one made for the oven.
Step 4: Disconnect the electrical lead wires from the control terminal and lift out the control. Connect the new control the same way the old one was connected.
Servicing Oven Thermostats
If the oven doesn’t heat evenly or doesn’t heat at all, the oven thermostat may be malfunctioning. First, determine how much the temperature in the oven is off from the control setting. To do this, put an oven thermometer on a center rack inside the oven and turn the oven on for about 20 minutes, with the thermostat set at any range between 300 degrees and 400 degrees Farenheit. If the oven thermometer reads 25 degrees or more lower or higher than the oven control setting, the thermostat should be recalibrated. Here’s how to calibrate the thermostat:
Step 1: Pull off the thermostat knob on the control panel. Behind the knob are two screws holding a round, notched plate. Loosen these screws, but do not remove them.
Step 2: With a screwdriver, change the notch setting on the notched plate by turning the plate counterclockwise; for every eighth of a turn, the oven temperature goes up about 25 degrees Farenheit. To turn the heat down, turn the plate clockwise.
Some thermostats can be adjusted by turning a screw inside the control knob shaft housing. To do so, remove the knob and insert a screwdriver into the shaft so that the screwdriver blade engages a screw slot. Turn the screwdriver counterclockwise about one-eighth of a turn to raise the heat about 25 degrees Farenheit. Here’s how to test a malfunctioning thermostat:
Step 1: Test the thermostat with a VOM (multimeter) set to the RX1 scale. The thermostat is located directly on the back of the control knob that regulates the heat. To gain access to the thermostat, remove the back service panel to the control panel.
Step 2: Disconnect one electrical lead wire from a terminal of the thermostat and clip one probe of the VOM to each thermostat terminal. If the thermostat is in working order, the meter will register zero. If the needle jumps to a higher reading, the thermostat is faulty and should be replaced.
Step 3: If necessary, replace the thermostat with a new one of the same type.
If you need to replace the thermostat, follow these guidlines:
Step 1: Disconnect the terminal wires to the thermostat and pull off the control knob.
Step 2: Remove the retaining screws. On some ranges, there is a wire running from the thermostat into the oven. This wire operates a sensing bulb that controls the thermostat. The sensing bulb is usually held by a bracket; unscrew this bracket to remove the bulb. Then carefully slip out the wire, the bulb, and the thermostat.
Step 3: Install the new thermostat using a reverse procedure.
Replacing the Timer
The range timer is usually located in the control panel on top of the range. If you suspect the timer is faulty, don’t try to fix it yourself. Remove it and take it to a professional service person for testing. Here’s how to remove the timer:
Step 1: Remove the back service panel to the control panel and release the spring clips that hold it in position, or remove the retaining screws.
Step 2: Push the timer forward to release it.
Step 3: Remove the electrical lead wires from the timer housing. If, when disassembling the timer, you notice that the electrical wire terminals look burned, remove these leads and buff the leads and the terminal points with fine steel wool. Burned and/or dirty terminals can cause the timer to malfunction, but a good cleaning can solve this problem.
Step 4: Replace the old timer or install a new one of the same size and type, if this is necessary. Connect the new timer the same way the old one was connected.
The flame color on a gas range burner can give you a clue if any burner troubles exist. In the next section, learn what those clues mean and what to do about them.
All rights reserved to the initial publisher for home.howstuffworks
Collected and published by Arms &McGregor International Realty® editorial team. Get in touched with us at [email protected]